
Saturday, February 6, 2016
It's getting down to crunch time! I need to wrap up the Typhoon in order to 1. go sailing!, and 2. to make room for the Westsail 42 about ready to come down from Maryland. After a leisurely morning, I started work on the boat around noon!, I began with cutting out a couple backing plates. I needed a backing plate for the engine bracket to be installed on the poop deck, and one for the forward deck cleat. Using a piece of fiberglass angle, I made the required just for the needed dimensions.

My priority today would be the engine bracket installation, so I proceeded in kind.

Patterning the fastener holes for the engine bracket, I transferred them to the fiberglass backing plate and drilled them out. I slightly over-drilled the holes in order to allow for some margin of error in the tight spaces below the poop deck.

Okay, I couldn't resist...I also drilled out the holes for the forward cleat backing plate.

I wanted to dress up the engine bracket installation a bit, and so I decided to fabricate a teak mounting plate for the bracket.

I worked the teak until I achieved my desired result.

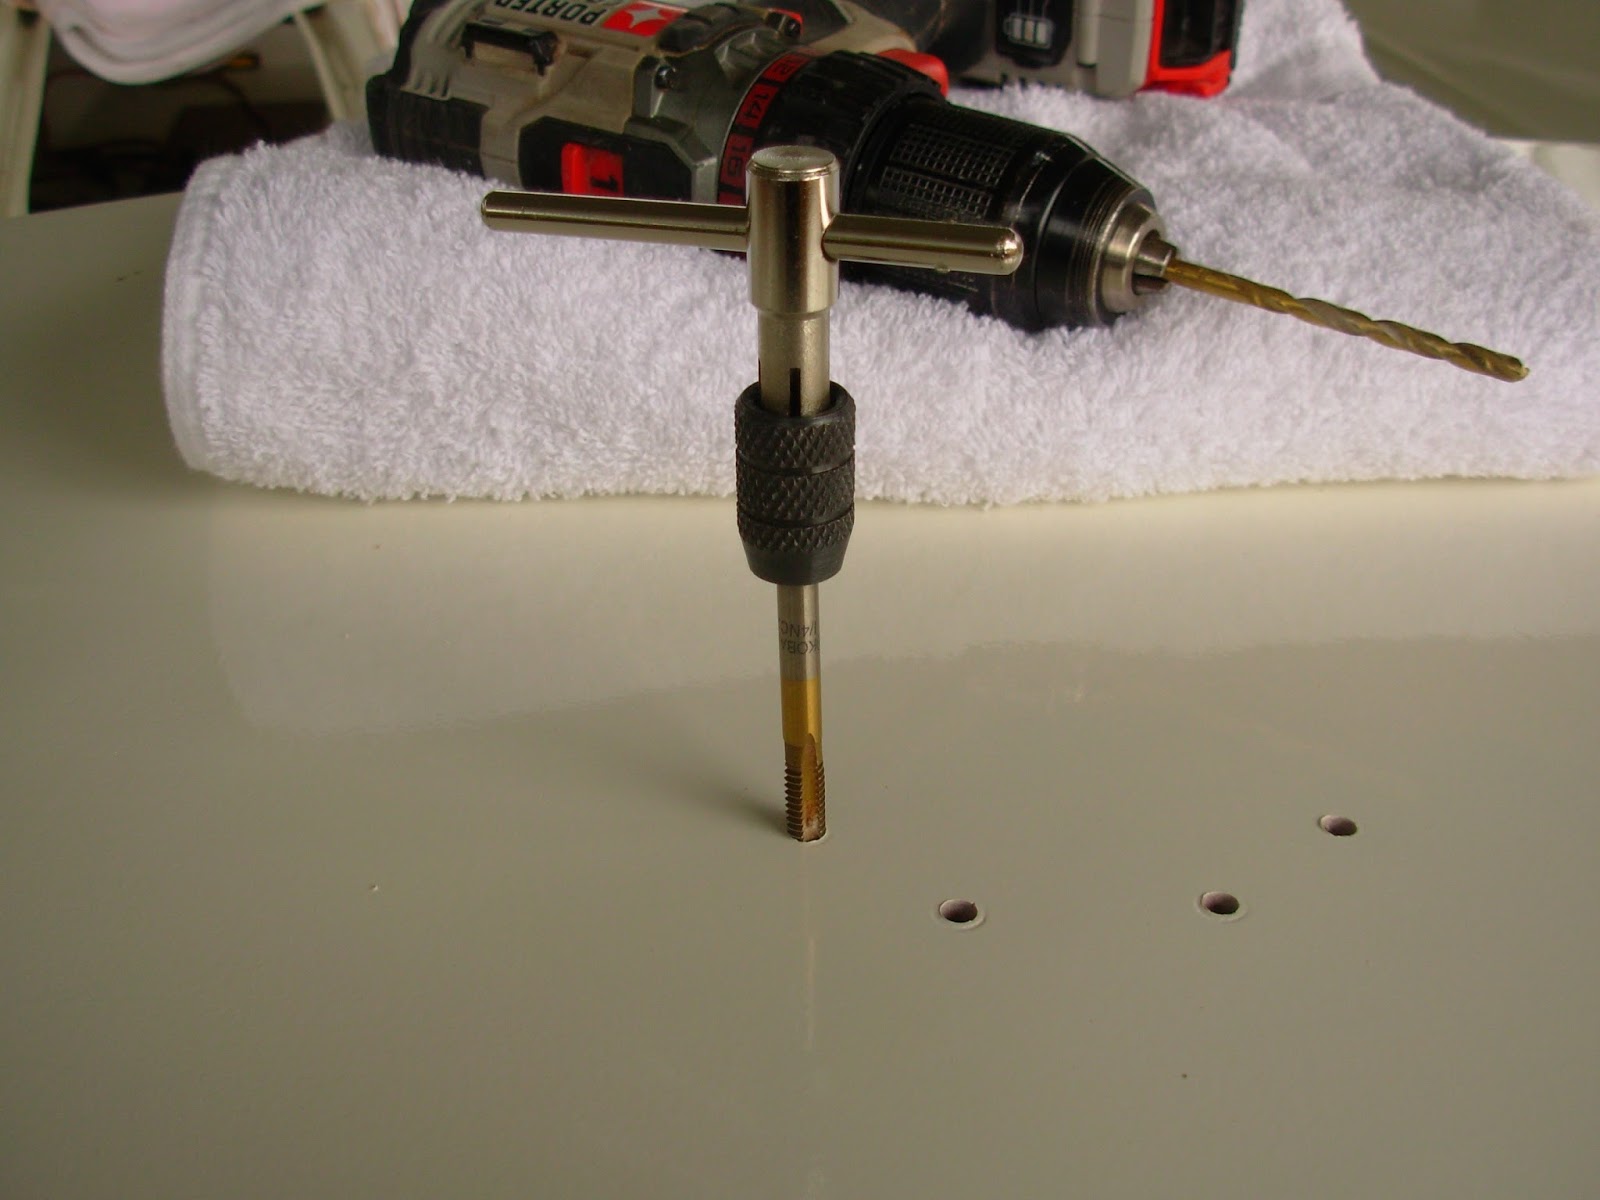
Next step was to drill the holes to tap for fasteners. I used a #7 - the drill bit required for a 1/4" 20 tap.

Once I had the holes drilled, I then tapped them for 1/4" 20 machine screws. The screws I am using here are silicone bronze. Also, the holes were over-drilled and filled with thickened epoxy during an earlier work session.
With the holes drilled and tapped, I then bored a tapper to allow for bedding compound to create a better seal.

The final install of the engine bracket; I will clean up the squeeze out later.

The next item for today was the installation, or at least dry-fit of the taff rail. I aligned the rail on the trailing edge of the poop deck and marked for fasteners. I ended up putting 9 fasteners to the right of center and 9 to the left of center. The high number of fasteners may be a bit overkill, but I felt like the extreme deflection the rail had to endure made the number of fasteners necessary.

With the rail in the dry-fit phase - fasteners holes bored out with a forstner bit and then pre-drilled to accept a #8 panhead screw - I then removed the rail for further work.

I rounded all the edges and generally worked the rail into a pleasing shape. I then sanded through to 220-grit paper, and then prepared for a thinned coat of Epifanes varnish.

With the varnish applied to the taff rail, I then cleaned up a bit and closed the shop for the day. Hopefully tomorrow I will be able to go ahead and install the taff rail and bung the fastener holes.

Total Time: 7 Hours
I'm Абрам Александр a businessman who was able to revive his dying lumbering business through the help of a God sent lender known as Benjamin Lee the Loan Consultant of Le_Meridian Funding Service. Am resident at Yekaterinburg Екатеринбург. Well are you trying to start a business, settle your debt, expand your existing one, need money to purchase supplies. Have you been having problem trying to secure a Good Credit Facility, I want you to know that Le_Meridian Funding Service. Is the right place for you to resolve all your financial problem because am a living testimony and i can't just keep this to myself when others are looking for a way to be financially lifted.. I want you all to contact this God sent lender using the details as stated in other to be a partaker of this great opportunity Email: lfdsloans@lemeridianfds.com / lfdsloans@outlook.com OR WhatsApp/Text +1-989-394-3740.
ReplyDelete