Cape Dory Typhoon, Weekender

Cape Dory Typhoon, Weekender

Tuesday, June 30, 2015

Filling Rub Rail Fastener Holes

June 30,2015

Seizing an hour to work on the boat prior to settling into a glass of vino and the USA Vs Germany FIFA World Cup game, I went right to work on Alva Anne's rub rail fastener holes.  I used a tapered bit and opened up the old fastener holes to allow more surface area for the epoxy to bond with.  In the photo below, you can see a hole opened up (left) and one I had yet to address (right).  I worked my way around from starboard aft quarter, bow, and finished at the port aft quarter.


After I had sufficiently opened up the fastener holes, I cleaned the surfaces with a solvent to prep for the epoxy fill.  After cleaning the surfaces, I mixed a small batch of neat epoxy - one pump on the West System dispenser - and using a foam brush proceeded to wet out of the areas to be filled.


The photo below shows two fastener holes that have been "opened up," surfaces cleaned, and "wet out" with neat epoxy.


I returned to the shop and mixed another small batch of epoxy  This time I used colloidal silica to thicken the epoxy mixture to fill the fastener holes with.  The colloidal silica is used more for structural strength applications. I like to use this filler in the first round, and then coming in with micro balloons for a second, fairing application. 


And finally, an example of one of the holes filled.  Next step here is a water wash to remove the amine blush, a light sanding, and then a fairing application with epoxy mixed with micro balloons.


Total Time: 1 Hr.

Sunday, June 28, 2015

Cockpit Sanding & Filling Fastener Holes

June 28, 2015


Picking up where I left off the day prior, I began by sanding the cockpit.  The goal for the day was to have all surfaces sanded to 80-grit in the cockpit, poop deck, and side decks outboard of the nonskid surface and up to the bow pulpit.  


The sanding was done with the Porter Cable 382, 5" random orbital sander, and by hand in areas that proved impossible for the 382 to access. 


The nonskid surfaces in the cockpit and side decks were preserved for today.  Later in the restoration, I will come back with a thorough cleaning, light sanding, and application of a fresh coat of nonskid paint.


The compass in the companionway bulkhead was removed with the intent of updating, and the absence of the compass made work on the surfaces a lot easier.


I removed the Cape Dory hull I.D. plate, and cleaned up the surrounding surfaces. 


After I finished sanding all the surfaces in the day's targeted work areas, I over drilled all fastener holes in the workspace: cockpit, poop deck, transom, and side decks up to the companionway bulkhead.  I used a tapered bit, and opened up the holes to provide more surface area for the filling compound to form a mechanical bond with.  There were six fastener holes along the front of the cockpit seat lockers that required a bit more work in filling.  For these six holes, I aggressively sanding the inside surfaces to prepare for a 2" x 3" tab of 1708 biaxial cloth to provide some backing for the thickened epoxy - in the area of these six holes, the laminate was laid up thinner than surrounding areas, thus requiring patches on the inside of the seat lockers.  After over-drilling the holes I planed to fill, I wiped all surfaces down with acetone to prepare for filling.  I then prepared a small batch of epoxy, without filler, and wet out of the areas I planned to fill.  With the same batch of "neat" epoxy, I wet out the 6 small 1708 biaxial tabs, and placed onto the inside surface of the seat lockers.  Next step was to mix a batch of epoxy and thicken it with colloidal silica.  The mixture was then forced into the fastener holes and cleaned up with a small plastic spreader tool.  


Here is an unfocused shot of the 2" x 3" 1708 biaxial patch on the inside the cockpit seat locker.


Working my way around the cockpit, poop deck, transom, and side decks, I quickly filled the fastener holes.  


The temperature was pushing the mercury today, and as a result, I did not have a lot of time to work with the epoxy, but managed to make my way around the targeted fill areas using three separate small batches.


The next step will be to sand the fill areas, and then apply a second application of thickened epoxy - this time with the epoxy thickened with micro-balloons in order to easily fair the surfaces.


Total Time: 7 Hrs.

Saturday, June 27, 2015

Final Hardware Removal Aft & First Pass Topside Sanding


June 27, 2015

With the first weekend day available to me since I brought Alva Anne to the home "yard," I was eager to finish up removing the plethora of hardware occupying the relative tiny space on her poop deck and transom.  Initially, my intent was to start with the obvious obnoxious protrusion from her transom which is, was the motor bracket.  But before the transom brackets, I decided to removes the remaining cleats and blocks from the poop deck.  The seemingly benign task of removing these few pieces of small hardware turned into a chore, but would be routine work as compared to removing the  motor bracket.  With the cleats, blocks, and back stay fitting removed, I was now ready to begin work on the transom brackets.  An access plate located aft in the cockpit enable me to get a wrench on 4 of the 6 nuts bolting the motor bracket onto the stern.  The final two, however, forced me to shimmy (as good an adjective as any), on my back, from the cabin quarter berth, beneath the cockpit seats, and ultimately into the void beneath the poop deck - at least my head and an arm made it into this space.  So from the position, I was able to get a wrench on the remaining two bolts securing the motor bracket.  As the bolts were slowly, painfully making their way off of the bolts, they became obstructed by the deck to hull flange. I struggled with contemplating just who in the world could of mounted this bracket, AND FIT IN THIS TIGHT SPACE!  My 6'2" frame would just not allow me to tweak myself into a better position to extract these bolts....so, I elected to grind off the head of the remaining two bolts.  I feel no shame in turning to the grinder.... :)


After a few minutes of noisy grinding, and sparks flying, I was able to wiggle the bracket off of the transom.


After the motor bracket was off of the transom, I quickly removed the stern light.  The rather larger hole in the transom this light required will be filled and faired.  After a quick removal of the stern light, I focused on the other "bracket."  I have no idea what this was being used for...but all of the intrusive hardware simply destroyed the Typhoon's classic transom.  This additional bracket was removed by getting a wrench on the bolts from the access plate in the cockpit.  Below is the motor bracket casualty.


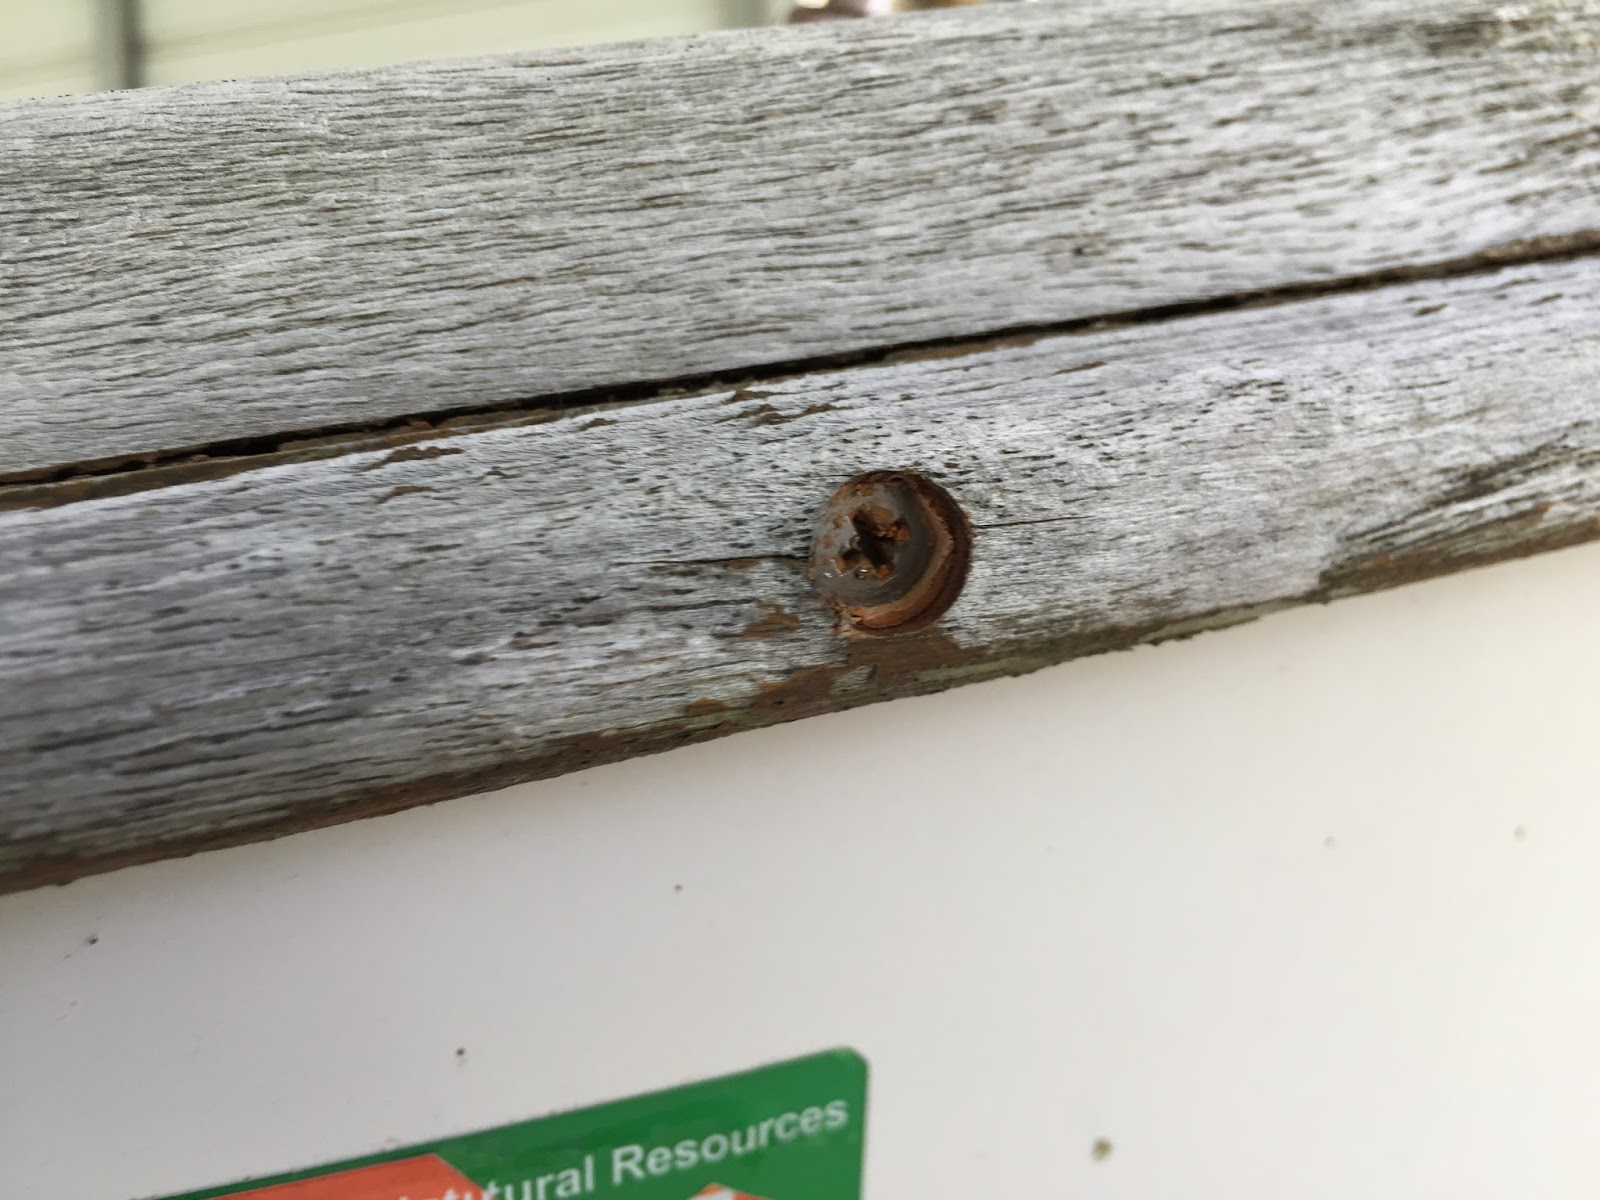
Once I have all of the hardware removed, I turned my attention to the taff rail.  The taff rail was rather thin, which was likely the result of years of sanding.  The wood beneath the hardware mounted to the taff rail sat on small elevated islands.  It was either sanding or persistent weathering over the years that "eroded" the taff rail into this ribbon of wood.  Removal was simple but for two stubborn bungs concealing their fasteners.  I will use the old taff rail as a template for the new rail, so I tucked the rail safely away in the shop.


Here is a pick of the hardware removed during this work session: backstay fitting, three cleats, two blocks, stern light, through-deck fitting (for the outboard fuel line and wiring), and not pictured, the two transom brackets.


Once I had all of the hardware removed aft of the companion way, I grabbed the Porter Cable 8335 6" sander, with 80-grit pads and worked the transom of the boat.  I wanted to clean things up a bit by sanding away years of grime and grit...preparing for patching and eventual paint application.


After the transom was sanded, I turned to the poop deck, and then made my way forward on the side decks approximately two to three feet.


Sorry for the orientation on the side deck...


After the transom, poop deck, and a few feet of the side decks, I transitioned to the topsides.  I was able to finish a first pass on the starboard and port topsides with 80-grit PSA pads on the Porter Cable 8335.  I sanded down to the boot stripe before I ran out of gas on this humid Florida day.


A picture of the starboard forward topsides after an 80-grit pass.


...and the port hind quarters after the 80-grit sanding application.


Total Time: 6 Hours


Tuesday, June 23, 2015

Cockpit Brightwork & Hardware Removal (1 of 2)


June 23, 2015


Needing to keep the 'momentum' of the restoration so as to not delay the splash of Alva Anne, I set out for a couple hours worth of work once I was home from the office.  Today's focus was the continued removal of the brightwork, and if time permitted, hardware removal.  The brightwork had not weathered well, being the original unvarnished teak.  The picture below shows the boat prior to removal of any brightwork.  The first of the brightwork to go was the starboard coaming, and removal went without issue.  There were a few stubborn fasteners that offered some resistance, but in the end they succumb to my persistent persuasion.  I continued with removal of the port coaming, as well as the aft cockpit trim.  In addition to the coaming boards, aft cockpit trim and cockpit seat trim, I removed the winch bases to further prepare for surface preparation (sanding, filling and fairing prior to paint).  After the brightwork was removed, I turned to the hardware installed on the poop deck.


Prior to removing the hardware from the poop deck, I snapped a few photos to log the arrangement of cleats and mainsheet blocks.


Before I lost all but the last of the fading light, I had removed one cleat, two mainsheet standup blocks and the mainsheet cam cleat.


The photo below shows the starboard seat with the coaming and seat trim removed.  The residual "bedding compound" - not knowing the actual product used - outlines the areas where the coaming board and seat trim reside.


...and the port cockpit seat with coaming and seat trim removed.


I collected and labeled the brightwork prior to bringing it into the shop.  I plan to use these boards as rough templates for the new brightwork, and plan some minor alterations to the dimensions.


Total Time: 2 Hours

Saturday, June 13, 2015

Removal of Toe and Rub Rails


June 13, 2015

 After completing a project overview, and deciding on the first work to be done on the Cape Dory, I set into removal of the rub rails and toe rails.  The process was made very easy due to the extreme weathering of the rails themselves.  The bungs that concealed the fasteners, if they were still there, were extremely thin, and so removal included a quick flip of the utility knife.  Upon removing the thin bungs, I cleaned out the bedding compound used to seat and seal the bungs.


Once this was done, the fastener was ready for removal. 


As I stated early, easy and straight forward!


The rail fasteners were spaced at 8" on center.


The port and starboard genoa tracks were a bit more of a challenge, but eventually conceded to my persistence.  The original installation of the genoa track included 6 flat head screws approximately 3" in length, set flush with the track itself, passing through the toe rail and hull-to-deck flange, and completed with a washer and nut.


The view from below.  Note, the genoa track fasteners pass through the hull-to-deck flange; the side deck coring is further inboard.


A large flat head screwdriver provided me with the necessary leverage to remove the somewhat stubborn fasteners.  In the end, all 12 fasteners gave up their fight, and I completed the removal of the rails.  


The aft end of the genoa track measured 42" from the stern.  Next on the list is removal of the coaming boards, taff rail, etc.


Total Time: 2 Hrs

Project Overview


June 13, 2015

Over the last couple of weeks since I brought the Cape Dory home, I have been thinking of the list of items to address...the ever-expanding list.  Prior to the getting my hands dirty with starting the restoration, the project experienced significant "scope creep."  Initially, I had plans to address the slight blistering on the bottom: scrap the bottom, grind out the blisters, fill with thickened epoxy, fair the bottom, apply InterProtect 2000E (or similar barrier coat product), and finally apply new bottom paint.  Work enough for anyone!  However, not being one to shy away from boat work, I quickly talked myself into addressing the coaming boards, toe rails, rub rails, cleaning up the bottom, painting the deck and topsides, and replacing the taff rail.  There will likely be a few "add items," but I am happy to address this list through the dog days of summer in time for some great fall and winter sailing.  Today was the first day I had a chance to get better acquainted with the Alva Anne - the name I have chosen for this Cape Dory Typhoon.   


You'll notice the trailer she rests on - custom made by Sail Trailers out of Columbus, GA; Alva Anne will be kept in the water, but the trailer affords the opportunity for seasonal maintenance on my property and the avoidance of expensive yard fees. 


Aside from the bottom job, removal of the obnoxious motor mount on her transom made the work list early.  In fact, the transom will be cleared of both of the mounts as well as a stern light.  Accomplishing this will leave a clean transom for her name and hailing port.


A view from the stern depicts a lot going on aft.  The 6hp Yamaha that was purchased with the boat has a charging 12V alternator, and so the charging cable and gas lines exited through a deck fitting aft and just to port of the motor mount.  This will all be removed, as I have opted to return to the original  removable bronze Cape Dory motor mount.  While in her slip, the motor and motor mount will be removed.


Moving into the day's, and restoration's, first to-do: removal of the toe rail and rub rails.  As you can see in the picture below, Alva Anne's brightwork has seen better days.  The teak coaming boards and rails are original, and have endured seasons of neglect.


The taff rail will also be replaced during the restoration.


Another picture of the starboard toe rail meeting the taff rail - rough!  With a review of the brightwork completed, I was set to begin work on removal of the toe rails and rub rails.


Total Time: .5 Hours